
You’ve just upgraded to a new streaming device or gaming console, only to discover that your trusted surround sound receiver lacks an HDMI input. Suddenly, you’re stuck with tinny TV speakers while your expensive audio equipment sits silent. This frustrating scenario plays out in living rooms everywhere, and it’s precisely where HDMI audio converters become indispensable. These compact devices extract audio signals from HDMI connections and convert them into formats compatible with older audio systems, bridging the gap between modern video sources and legacy equipment.
For online shoppers, finding the right converter can feel overwhelming. Questions about product reliability, affordable shipping options, and accessible customer support often complicate the purchase decision. This guide cuts through the confusion by walking you through everything from understanding what HDMI audio converters do, to selecting one with dependable support, completing a proper installation, and troubleshooting issues after setup. Whether you’re building a home theater or simply trying to get sound from a new device into an existing system, you’ll find clear, actionable steps backed by the assurance that help is available when you need it.
What is an HDMI Audio Converter and Why You Need One
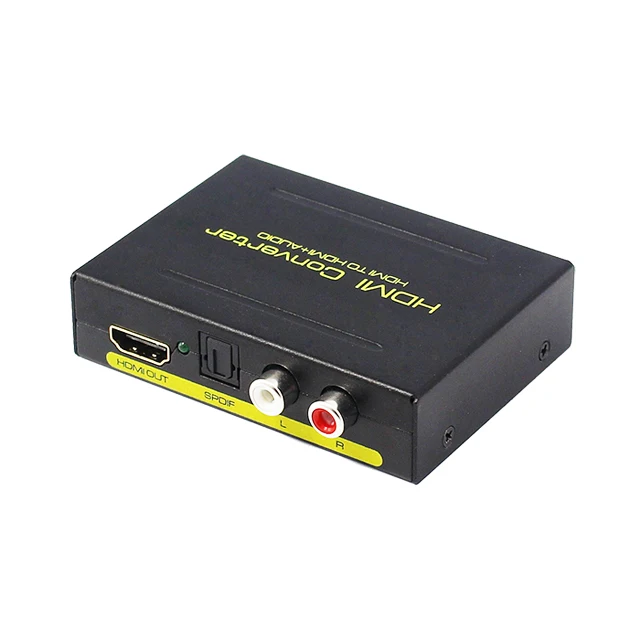
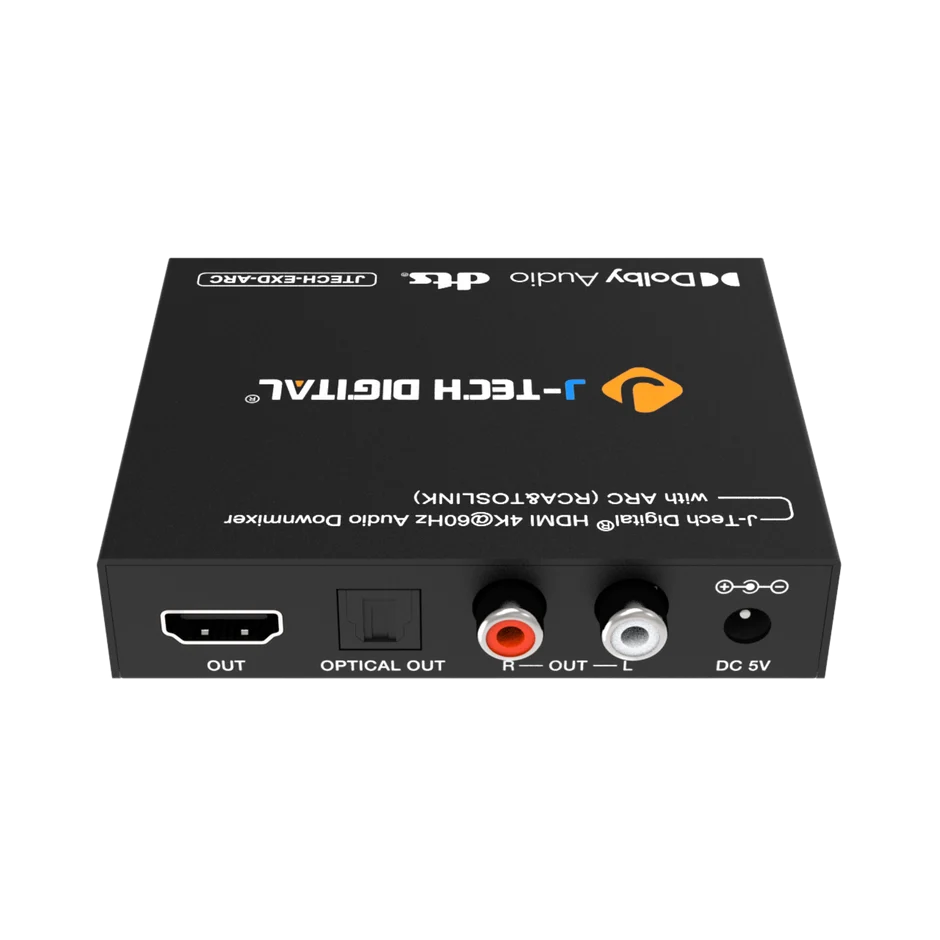
An hdmi audio converter is a specialized device that intercepts the digital audio signal embedded within an HDMI connection and outputs it in a separate format—typically optical (TOSLINK), coaxial, or analog RCA. Think of it as a translator sitting between your modern source device and your audio equipment, pulling out the sound data that would otherwise remain locked inside the HDMI stream.
These converters become essential in several everyday situations. Home theater enthusiasts who own high-quality receivers without HDMI inputs need them to enjoy surround sound from Blu-ray players or streaming sticks. Gamers connecting a PlayStation or Xbox to an older amplifier rely on them to hear directional audio cues through dedicated speakers rather than flat TV output. Even office setups benefit when a laptop’s HDMI output needs to feed a conference room’s standalone sound system.
The primary advantage of an HDMI audio converter is compatibility without compromise. You retain full video resolution on your display while simultaneously routing rich, multi-channel audio to equipment that speaks a different digital language. Installation is straightforward, no drivers or software are required, and the device draws minimal power—often directly from the HDMI connection itself. For anyone caught between generations of audio and video technology, this small box delivers a remarkably simple audio solution.
Choosing the Right HDMI Audio Converter with Optical Audio Extractor
Selecting the right HDMI audio converter starts with understanding your specific setup. Consider which audio output format your receiver or speaker system accepts—if your equipment has a TOSLINK port, prioritize a converter with an optical audio extractor built in. If you’re working with an older amplifier that only accepts analog signals, look for a unit offering RCA stereo outputs. Many converters provide multiple output types simultaneously, giving you flexibility as your system evolves.
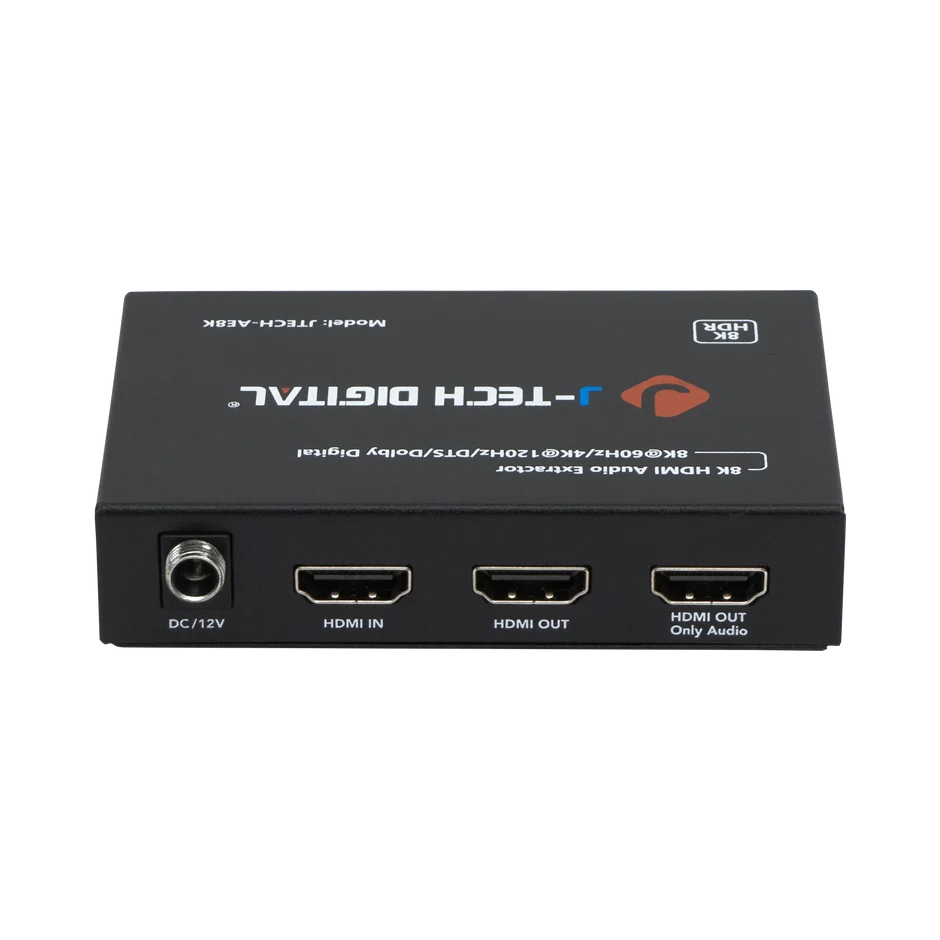
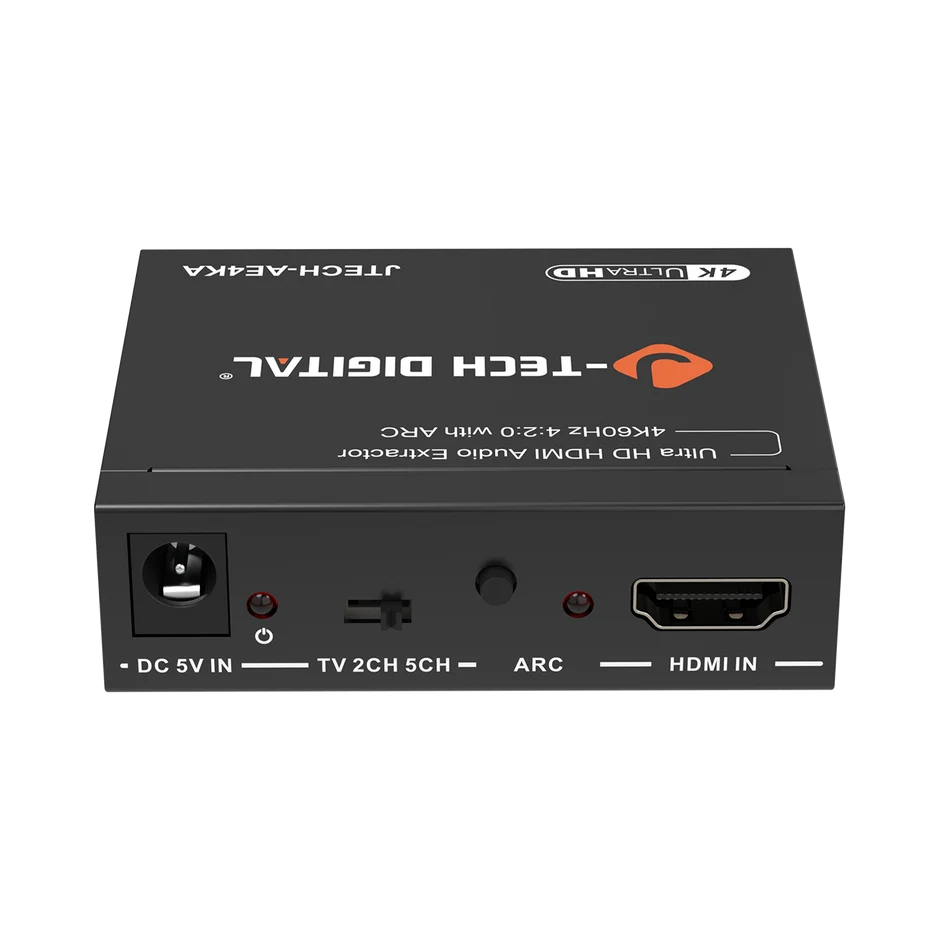
Compatibility extends beyond connectors. Verify that the converter supports the HDMI version your source device uses and can pass through the video resolution you need, whether that’s 1080p or 4K. Audio format support matters equally—basic converters handle stereo PCM, while more capable units decode Dolby Digital and DTS 5.1 surround sound through the optical output. Check the product specifications carefully rather than relying solely on marketing claims.
When shopping online, look beyond the sticker price. Affordable or free shipping options reduce total cost significantly on lightweight electronics like these. Read verified buyer reviews focusing on long-term reliability and real-world performance rather than unboxing impressions. Pay close attention to warranty length and what it covers—manufacturers like J-Tech Digital Inc, which specialize in AV transmission and processing equipment, often back their converters with responsive customer support teams and meaningful warranties that signal confidence in their products. Compare two or three options side by side, weighing build quality, included cables, support accessibility, and total delivered cost. A slightly higher-priced converter with dedicated technical assistance often saves money and frustration compared to a bargain unit with no recourse when problems arise.
Step-by-Step Guide to Installing Your HDMI Audio Converter
Pre-Installation Preparation and Tools Needed
Before connecting anything, gather your materials and confirm compatibility. You’ll need the HDMI audio converter itself, an HDMI cable from your source device, an output cable matching your audio system (optical TOSLINK, coaxial, or RCA), and a USB power cable if your converter requires external power. Some units include a short USB cable and power adapter in the box, so check the package contents first. Verify that your source device’s HDMI output version aligns with the converter’s supported input specification. Power off all equipment before making connections—this prevents potential HDCP handshake errors and protects your devices from voltage spikes during cable insertion.
Connecting Devices: HDMI Source to Converter
Start by running an HDMI cable from your source device—whether it’s a streaming stick, gaming console, or Blu-ray player—into the port labeled “HDMI In” on the converter. Connect a second HDMI cable from the converter’s “HDMI Out” port to your television or projector. This passthrough design ensures your display still receives the full video signal while the converter taps into the embedded audio. Seat each connector firmly until you feel it click into place; a loose HDMI connection is the most common cause of intermittent signal drops. If your converter uses USB power, plug that in now but leave the source device powered off for the moment.
Output Setup: Linking to Audio Systems
Now connect the audio output side. For receivers with optical input, insert a TOSLINK cable from the converter’s optical audio extractor port into your receiver’s corresponding input. Remove the protective caps from both ends of the fiber optic cable and avoid bending it at sharp angles, which can damage the internal glass fiber. If you’re using RCA outputs instead, connect the red and white plugs to an available analog input on your amplifier or powered speakers. Select the correct input channel on your audio system so it’s ready to receive the signal once everything powers on.
Configuration and Testing
Power on your display first, then the audio receiver, and finally the source device—this sequence allows proper HDCP authentication along the chain. On your source device, navigate to audio settings and select the output format that matches your converter’s capabilities. For optical connections carrying surround sound, choose “bitstream” or “Dolby Digital” rather than PCM, which limits output to stereo. Play a familiar piece of content and listen for clear, properly synced audio through your speakers. If the converter has a small toggle switch for selecting between PCM and passthrough modes, experiment with both positions to determine which delivers the best result with your specific equipment. Confirm that video appears on screen without resolution drops or flickering, indicating the passthrough is functioning correctly.
Post-Installation Support and Troubleshooting Common Issues
Even with careful installation, audio converters occasionally present challenges that require systematic troubleshooting. The most common issue—no audio output despite proper connections—usually traces back to an incorrect input selection on your receiver or a source device sending audio in a format the converter cannot decode. Start by switching your source device’s audio output to PCM stereo as a baseline test. If sound appears, the problem lies in surround format compatibility rather than hardware failure. Gradually step up to higher audio formats until you identify what your specific converter handles reliably.
Audio-video sync problems, where dialogue arrives a fraction of a second after lips move on screen, typically result from the converter’s processing delay. Most modern receivers include a lip-sync adjustment measured in milliseconds—try values between 30ms and 80ms until speech aligns naturally with the picture. Intermittent audio dropouts often point to a failing HDMI cable or insufficient power supply; swap cables one at a time to isolate the culprit, and try a dedicated USB wall adapter rather than drawing power from your TV’s USB port.
When self-diagnosis stalls, reliable customer support becomes invaluable. Contact the manufacturer’s support team through email or live chat with your model number, a description of the problem, and the steps you’ve already attempted—this accelerates resolution dramatically. Many brands maintain online knowledge bases, downloadable manuals, and community forums where other users share solutions to niche compatibility issues. Keep your converter’s firmware updated if the manufacturer provides updates, as these often resolve handshake failures with newer source devices. Establishing a relationship with responsive support ensures your audio solution continues performing long after initial setup, protecting your investment and keeping your system sounding its best through future equipment changes.
Bridging Modern Sources and Legacy Audio Systems
Installing an HDMI audio converter doesn’t have to be a daunting experience. By understanding what these devices do—extracting embedded audio from HDMI signals and translating it for legacy equipment—you’ve already cleared the first hurdle. Choosing a converter with the right features, particularly an optical audio extractor if your receiver supports it, sets the foundation for success. Prioritize products backed by responsive customer support and solid warranties over bare-bones bargains that leave you stranded when questions arise.
The installation process itself follows a logical chain: prepare your equipment and cables, connect the HDMI source through the converter to your display, link the audio output to your receiver or speakers, then power up in sequence and configure settings for optimal sound. When issues surface—and occasionally they will—methodical troubleshooting resolves most problems quickly, and manufacturer support fills the gaps when you hit a wall. Take advantage of free shipping offers to keep costs reasonable, lean on customer care teams when needed, and move forward knowing that bridging old and new audio technology is entirely within reach. Your surround sound system deserves to be heard, and now you have the roadmap to make it happen.